
*This article was modeled from the current Adobe React SPA documentation.
Understand how the source code for a Single Page Application (SPA) written in Vue can be integrated with an Adobe Experience Manager (AEM) Project. Learn to use modern front-end tools, like a webpack dev server, to rapidly develop the SPA against the AEM JSON model API.
Objective
- Understand how the SPA project is integrated with AEM with client-side libraries.
- Learn how to use a webpack development server for dedicated front-end development.
- Explore the use of a proxy and static mock file for developing against the AEM JSON model API
What you will build
This chapter will add a simple Header component to the SPA. In the process of building out this static Header component several approaches to AEM SPA development will be used.
Prerequisites
Review the required tooling and instructions for setting up a local development environment.
Get the code
- Download the starting point for this tutorial via Git:
$ git clone https://github.com/mavicellc/aem-guides-wknd-spa.git
$ cd aem-guides-wknd-spa
$ git checkout Vue/integrate-spa-start
2. Deploy the code base to a local AEM instance using Maven:
$ mvn clean install -PautoInstallSinglePackage3. If using AEM 6.x add the classic profile:
$ mvn clean install -PautoInstallSinglePackage -PclassicYou can always view the finished code on GitHub or check the code out locally by switching to the branch Vue/integrate-spa-solution.
Integration approach
Two modules were created as part of the AEM project: ui.apps and ui.frontend.
The ui.frontend module is a webpack project that contains all of the SPA source code. A majority of the SPA development and testing will be done in the webpack project. When a production build is triggered, the SPA is built and compiled using webpack. The compiled artifacts (CSS and Javascript) are copied into the ui.apps module which is then deployed to the AEM runtime.
Inspect the SPA integration
Next, inspect the ui.frontend module to understand the SPA that has been auto-generated by the AEM Project archetype.
- In the IDE of your choice open up the AEM Project for the WKND SPA.
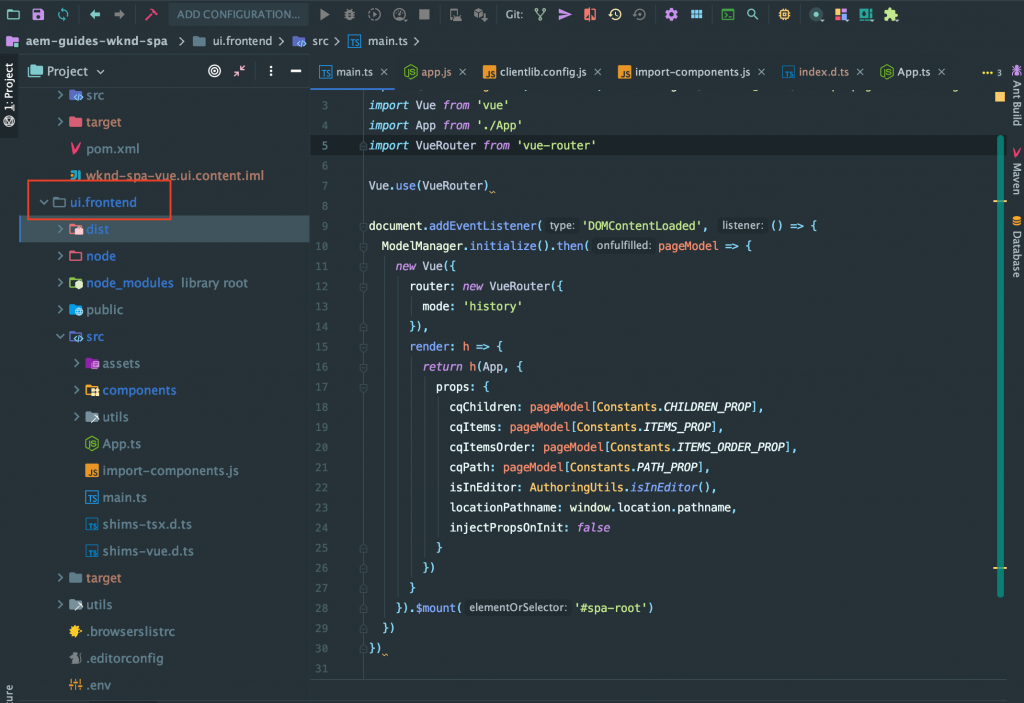
2. Expand and inspect the ui.frontend folder. Open the file ui.frontend/package.json
3. Under the dependencies you should see several related to Vue.
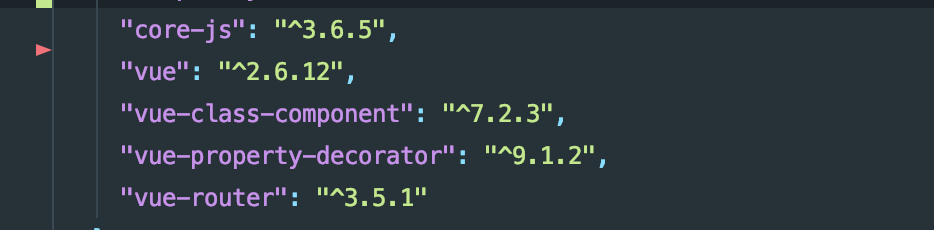
The ui.frontend is a Vue application based on the Vue CLI Template.
4. There are also two dependencies prefixed with @adobe, and one prefixed with @mavice.

The above modules make up the AEM SPA Editor JS SDK and provide the functionality to make it possible to map SPA Components to AEM Components.
5. In the package.json file there are three scripts defined:

These are standard build scripts made available by the Vue CLI.
The only difference is the addition of && clientlib to the build script. This extra instruction is responsible for copying the compiled SPA into the ui.apps module as a client-side library during a build.
The npm module aem-clientlib-generator is used to facilitate this.
6. Inspect the file ui.frontend/clientlib.config.js. This configuration file is used by aem-clientlib-generator to determine how to generate the client library.
7. Inspect the file ui.frontend/pom.xml. This file transforms the ui.frontend folder into a Maven module. The pom.xml file has been updated to use the frontend-maven-plugin to test and build the SPA during a Maven build.
8. Inspect the file main.ts at ui.frontend/src/main.ts:
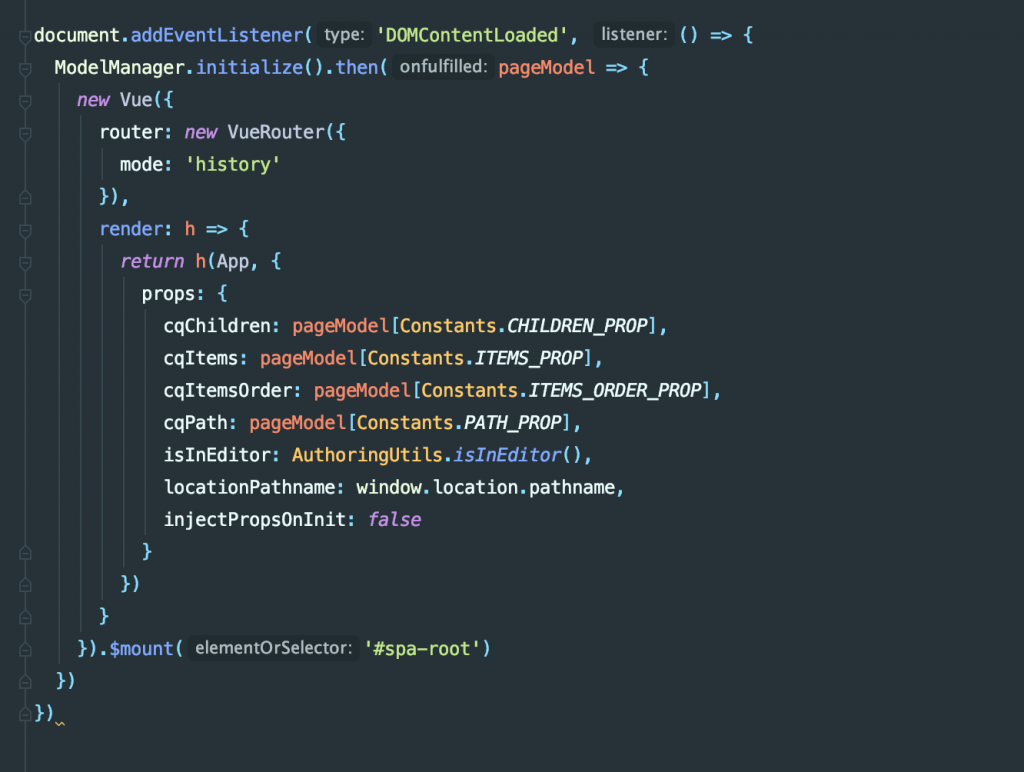
main.ts is the entrypoint of the SPA. ModelManager is provided by the AEM SPA Editor JS SDK. It is responsible for calling and injecting the pageModel (the JSON content) into the application.
Add a Header component
Next, add a new component to the SPA and deploy the changes to a local AEM instance.
- In the
ui.frontendmodule, beneathui.frontend/src/componentscreate a new folder namedHeader. - Create a file named
Header.vue beneath theHeaderfolder.
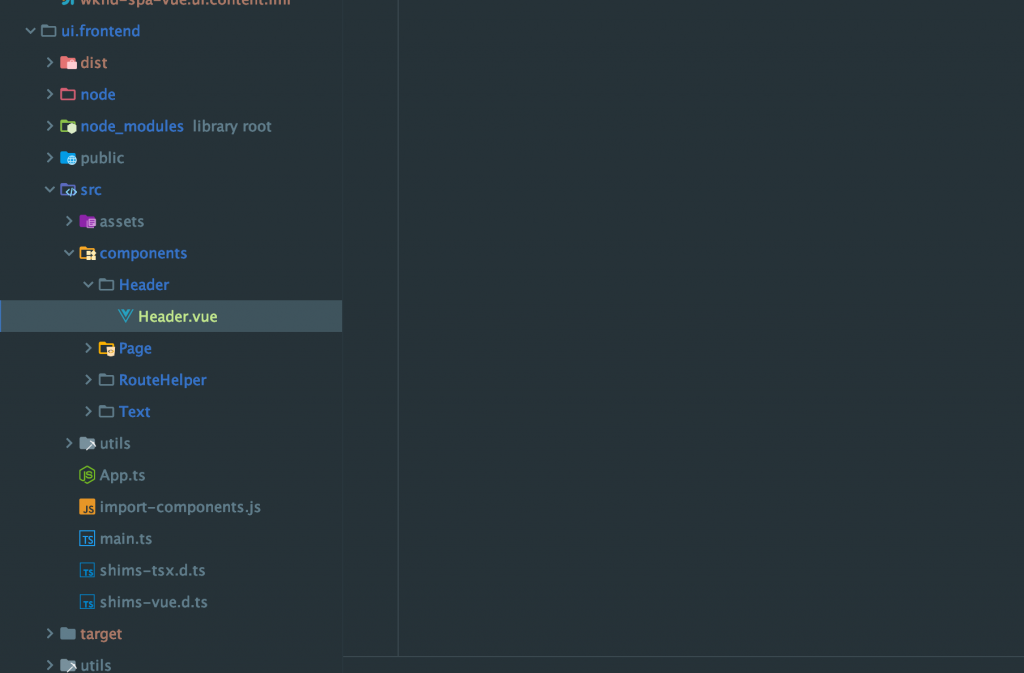
3. Populate Header.vue with the following:
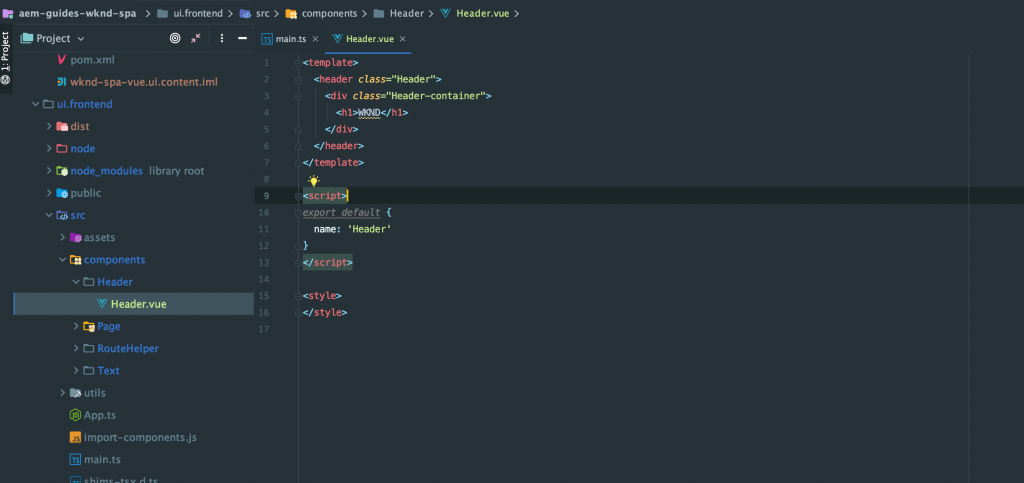
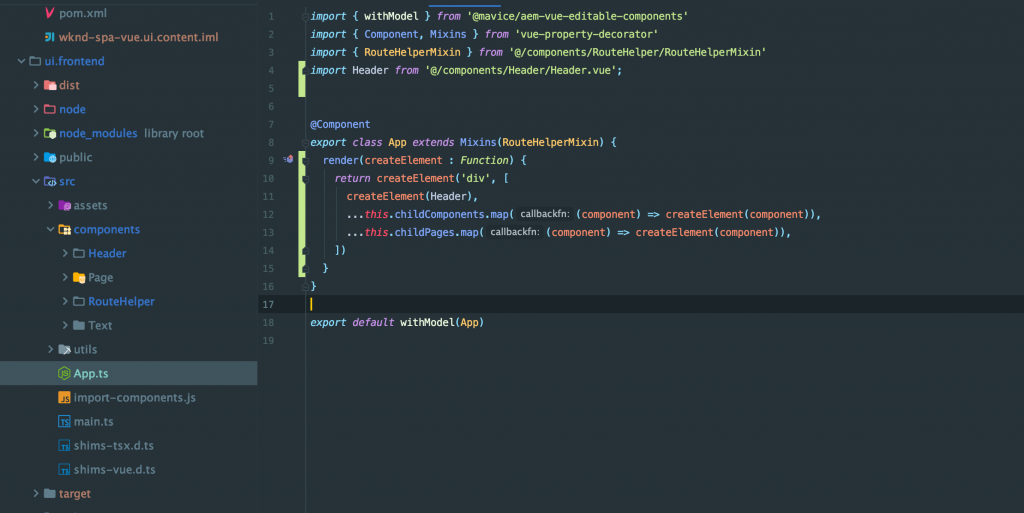
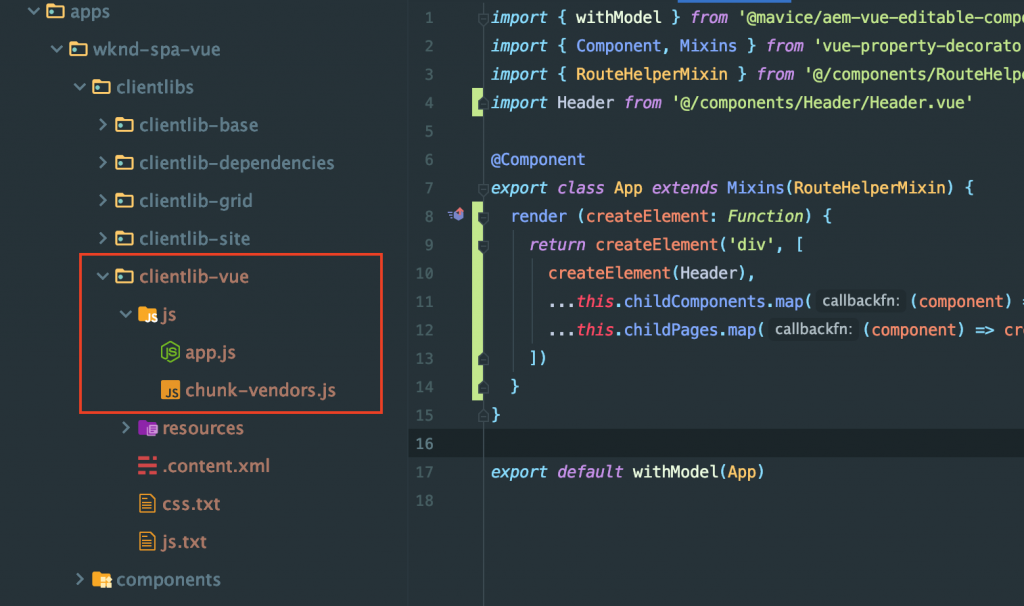
4. Open the file ui.frontend/src/App.js. This is the application entry-point.
5. Make the following updates to App.ts to include the static Header:
6. Open a new terminal and navigate into the ui.frontend folder and run the npm run build command:
$ npm run build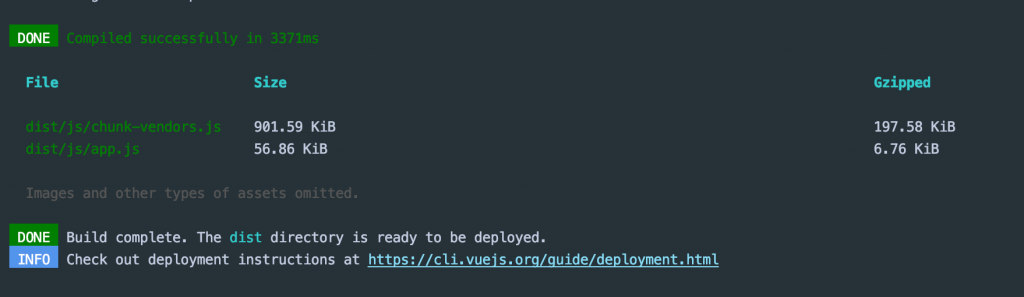
7. Navigate to the ui.apps folder Beneath ui.apps/src/main/content/jcr_root/apps/wknd-spa-vue/clientlibs/clientlib-vue you should see the compiled SPA files have been copied from the ui.frontend/build folder.
8. Return to the terminal and navigate into the ui.apps folder. Execute the following Maven command:
$ mvn clean install -PautoInstallPackage 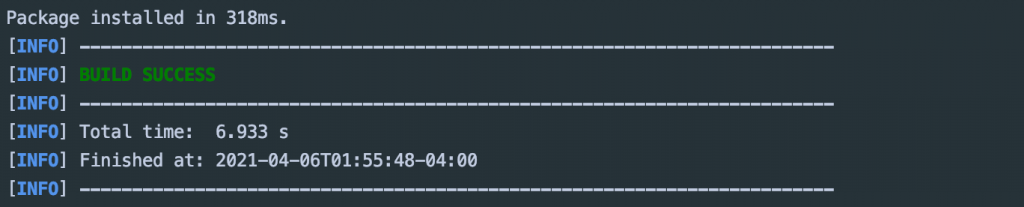
This will deploy the ui.apps package to a local running instance of AEM.
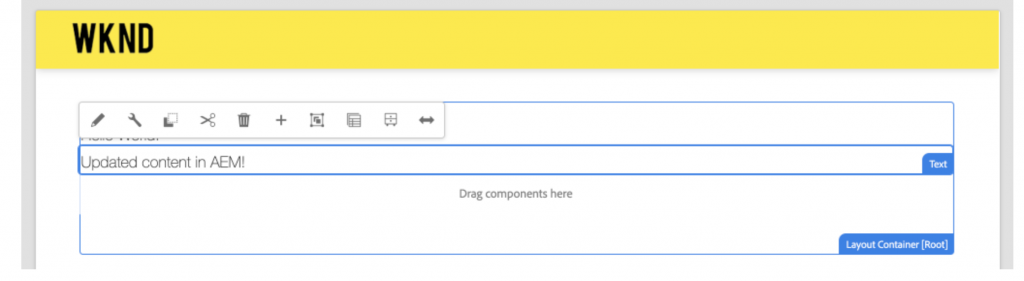
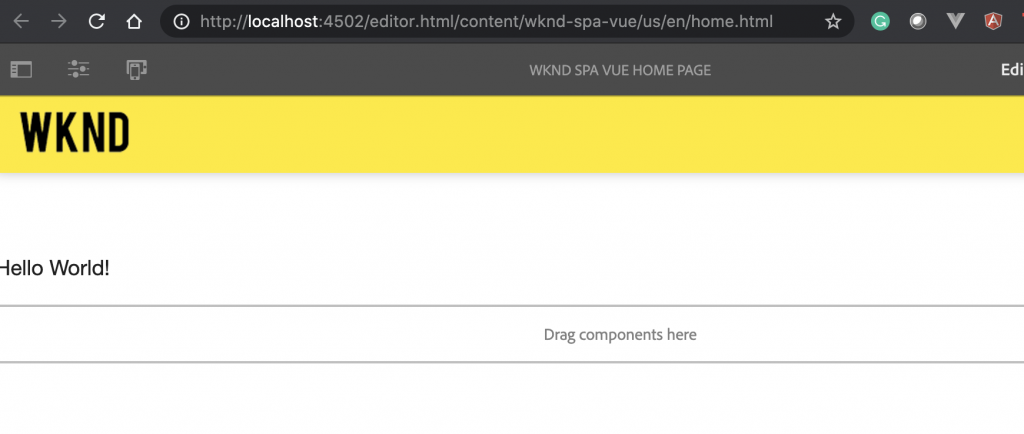
9. Open a browser tab and navigate to http://localhost:4502/editor.html/content/wknd-spa-vue/us/en/home.html. You should now see the contents of the Header component being displayed in the SPA.
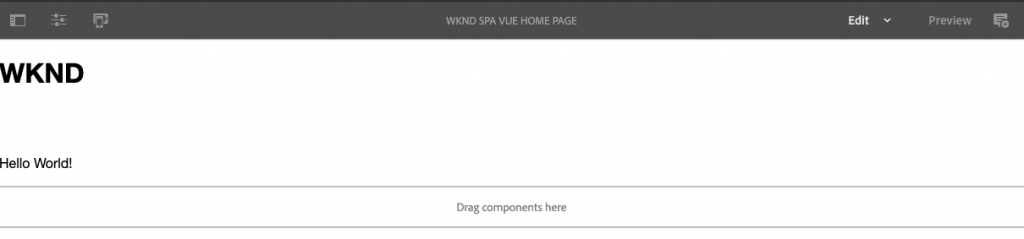
Steps 6-8 are executed automatically when triggering a Maven build from the root of the project (i.e mvn clean install -PautoInstallSinglePackage). You should now understand the basics of the integration between the SPA and AEM client-side libraries. Notice that you can still edit and add Text components in AEM beneath the static Header component.
Webpack Dev Server – Proxy the JSON API
As seen in the previous exercises, performing a build and syncing the client library to a local instance of AEM takes a few minutes. This is acceptable for final testing, but is not ideal for the majority of the SPA development.
A webpack-dev-server can be used to rapidly develop the SPA. The SPA is driven by a JSON model generated by AEM. In this exercise the JSON content from a running instance of AEM will be proxied into the development server.
- Return to the IDE and open the file
ui.frontend/package.json.
Look for a block of code like the following:
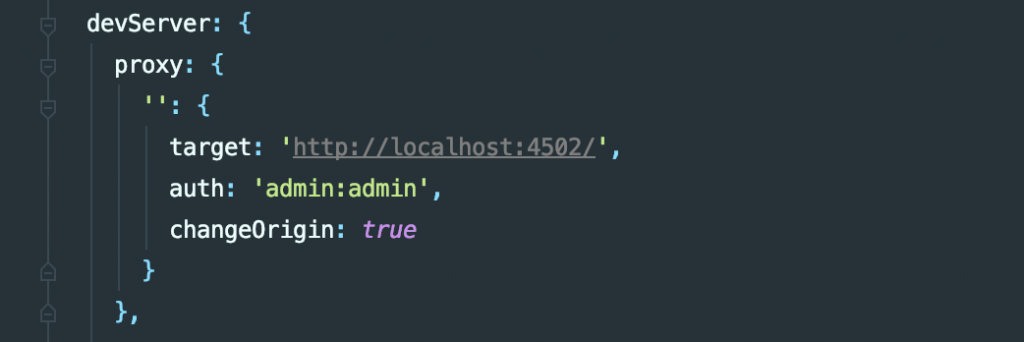
The Vue CLI provides an easy mechanism to proxy API requests. All unknown requests will be proxied through localhost:4502, the local AEM quickstart.
2. Open a terminal window and navigate to the ui.frontend folder. Run the command npm run serve:
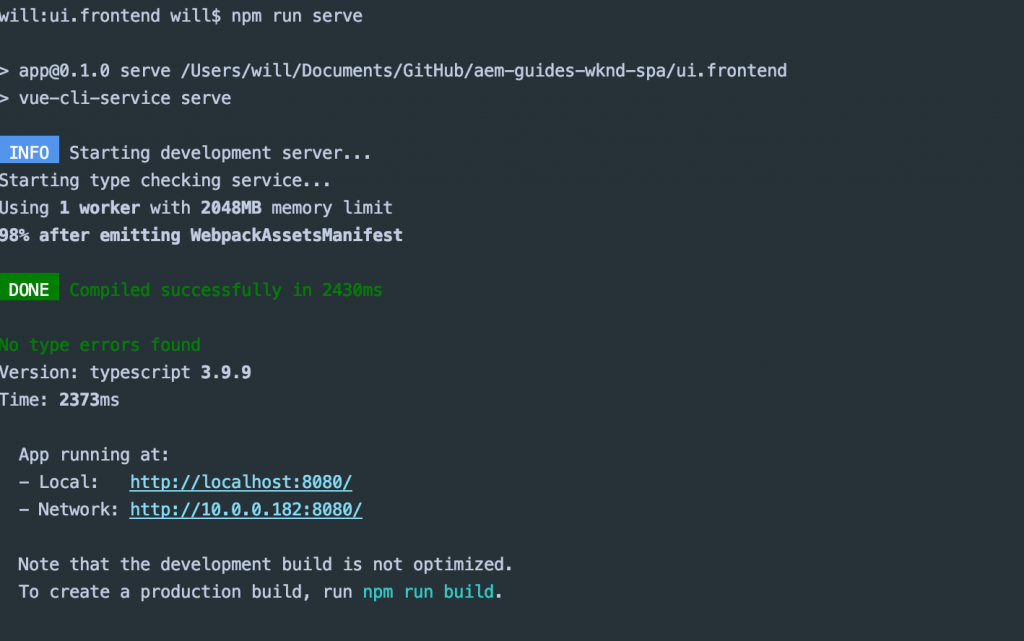
3. Open a new browser tab (if not already opened) and navigate to http://localhost:8080/content/wknd-spa-vue/us/en/home.html.
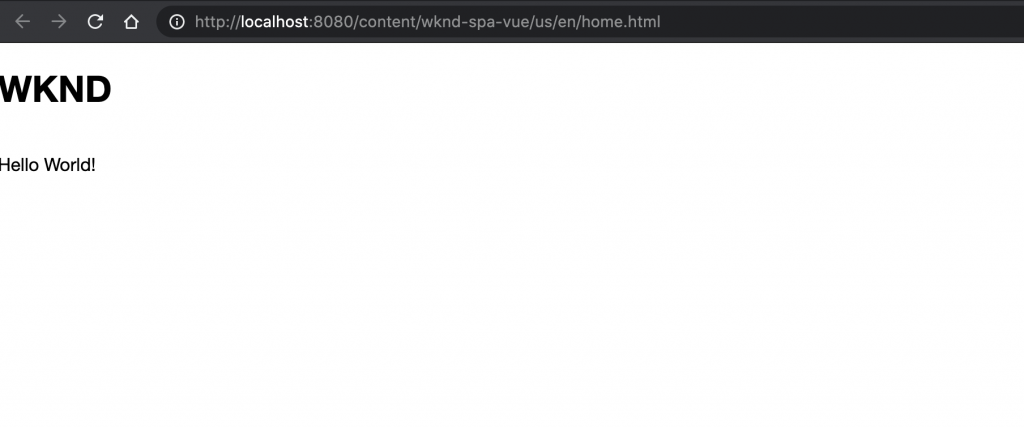
You should see the same content as in AEM, but without any of the authoring capabilities enabled.
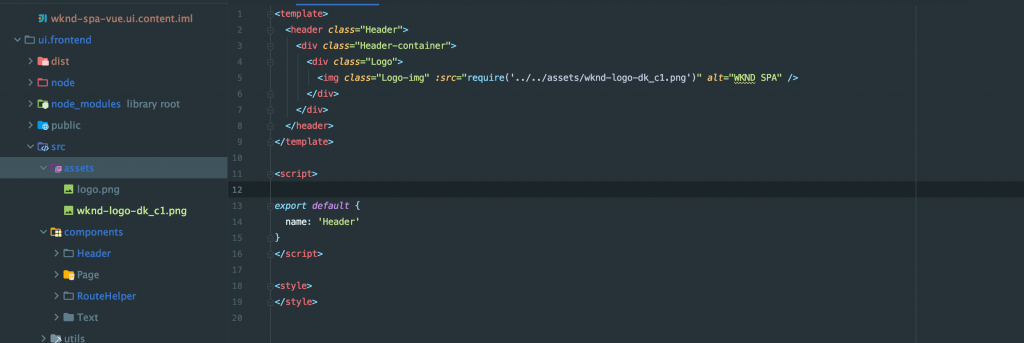
4. Return to the IDE and create a new folder named media at ui.frontend/src/media.
5. Download and add the following WKND logo to the assets folder:
import wkndLogoDark from '../../media/wknd-logo-dk.png';
6. Make the following updates to Header.js to include the logo as part of the header:
Wanna know why we are using ‘reqiure’ ? Check this out.
https://cli.vuejs.org/guide/html-and-static-assets.html#relative-path-imports
Next, Save the changes to Header.vue.
Return to the browser at http://localhost:8080/content/wknd-spa-vue/us/en/home.html. You should immediately see the changes to the app reflected.
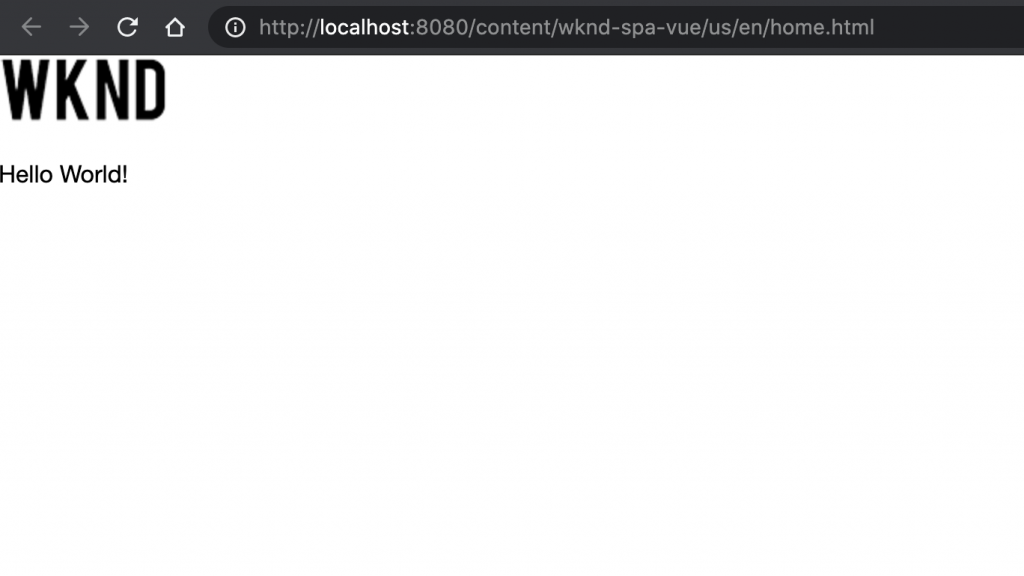
You can continue to make content updates in AEM and see them reflected in webpack-dev-server, since we are proxying the content.
9. Stop the webpack dev server with ctrl+c in the terminal.
Webpack Dev Server – Mock JSON API (Coming Soon)
Mock JSON API Functionality is currently in development.
Add Styles with Sass
This project will use Sass for a few useful features like variables. Sass is already included when creating the project from the Vue CLI.
Use either the Proxy of Mock approach for handling the JSON model API.
1. Return to the IDE and beneath ui.frontend/src create a new folder named styles.
2. Create a new file beneath ui.frontend/src/styles named _variables.scss and populate it with the following variables:
//_variables.scss
//== Colors
//
//## Gray and brand colors for use across theme.
$black:                  #202020;
$gray:                   #696969;
$gray-light:             #EBEBEB;
$gray-lighter:           #F7F7F7;
$white:                  #FFFFFF;
$yellow:                 #FFEA00;
$blue:                   #0045FF;
//== Typography
//
//## Font, line-height, and color for body text, headings, and more. $font-family-sans-serif:  "Helvetica Neue", Helvetica, Arial, sans-serif;
$font-family-serif:       Georgia, "Times New Roman", Times, serif; $font-family-base:        $font-family-sans-serif;
$font-size-base:          18px; $line-height-base:        1.5;
$line-height-computed:    floor(($font-size-base * $line-height-base));

// Functional Colors $brand-primary:
$yellow; $body-bg:
$white; $text-color:
$black; $text-color-inverse:
$gray-light; $link-color:
$blue; //Layout $max-width: 1024px;

// Spacing
$gutter-padding: 12px;
3. Replace the contents with the following in App.scss with the following:
@import './styles/variables';

body {
  background-color: $body-bg;
  font-family: $font-family-base;
  margin: 0;
  padding: 0;
  font-size: $font-size-base;
  text-align: left;
  color: $text-color;
  line-height: $line-height-base;
}

//spacing for header
body.page {
  padding-top: 75px;
}
4. Replace the <style> tag in Header.vue with the following:
<style lang="scss">
  .Header {
    width: 100%;
    position: fixed;
    top: 0;
    left:0;
    z-index: 99;
    background-color: $brand-primary;
    box-shadow: 0px 0px 10px 0px rgba(0, 0, 0, 0.24);
  }

  .Header-container {
    display: flex;
    max-width: $max-width;
    margin: 0 auto;
    padding-left: $gutter-padding;
    padding-right: $gutter-padding;
  }

  .Logo {
    z-index: 100;
    display: flex;
    padding-top: $gutter-padding;
    padding-bottom: $gutter-padding;
  }

  .Logo-img {
    width: 100px;
  }
</style>
5. Finally, add the _variables.scss to the loaderOptions for SASS within the vue.config.js file.
module.exports = {
  css: {
    loaderOptions: {
      sass: {
        prependData: `@import "@/styles/_variables.scss";`
      }
    }
  },
...
...
6. Start the webpack-dev-server and return to the browser: http://localhost:8080/content/wknd-spa-vue/us/en/home.html
$ npm run serve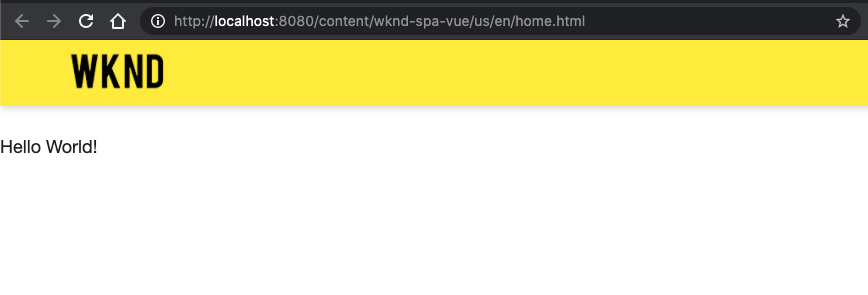
You should now see the updated styles added to the Header component.
Deploy SPA updates to AEM
The changes made to the Header are currently only visible through the webpack-dev-server. Deploy the updated SPA to AEM to see the changes.
1. Navigate to the root of the project (aem-guides-wknd-spa) and deploy the project to AEM using Maven:
$ cd ..
$ mvn clean install -PautoInstallSinglePackage
2. Navigate to http://localhost:4502/editor.html/content/wknd-spa-vue/us/en/home.html. You should see the updated Header with logo and styles applied.
Now that the updated SPA is in AEM, authoring can continue.
Congratulations!
Congratulations, you have updated the SPA and explored the integration with AEM! You now know two different approaches for developing the SPA against the AEM JSON model API using a webpack-dev-server.
You can always view the finished code on GitHub or check the code out locally by switching to the branch Vue/integrate-spa-solution.
Next Steps
Map SPA components to AEM components – Learn how to map Vue components to Adobe Experience Manager (AEM) components with the AEM SPA Editor JS SDK. Component mapping enables users to make dynamic updates to SPA components within the AEM SPA Editor, similar to traditional AEM authoring.